
Sundeck Photos
Before
After
Whether it is "Under the House",
"In front of the House"
"Behind the House"
"Beside the House, OR"
"On Top of the House", We will can handle the job!
Progress Photos of a Sundeck
The back of the house before we begin.

The previous owner had used a backhoe to drive some posts into the ground but never got
around to building the deck.
We stripped the existing deck and cut off the old posts at the right elevation. Then we
replaced the turned posts on the deck with new ones tied into the framing. We installed a
cloths line post at the end of the deck and the remaining posts needed. The customer wanted
to have an area near the garage which will be covered and closed in with screens for evening
use. This part of the job will happen in a year or two after the landscaping around the pool.
We only use concrete at the bottom of our 5 to 6 foot deep pilings. The concrete is about
8 inches deep and secures the nails sticking out of the bottom of the piling posts. Tar up to
ground level prevents the wooden post from rotting. We backfill with the same earth unless it
is clay, then crushed stone is use instead. Since the post connects the deck to ground that
doesn't move, this is all that is needed to support the deck while preventing frost heave.
It's a lot cheaper too!

The ground under the deck is graded so that water will run away from the house. Then window
wells are added where necessary. Landscape fabric is installed over the ground under the deck
to prevent vegitation from growing there. To protect the landscape fabric, hold it in place,
and make the area look tidy we cover it with 3 inches of crushed stone.
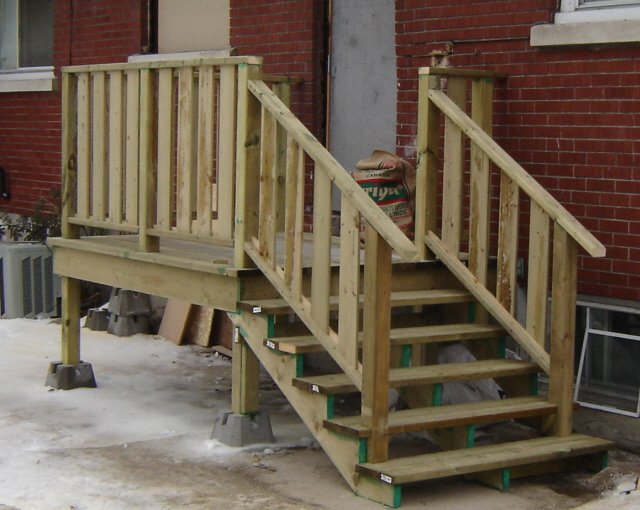
The Joists and fascia are added. Then we lock the newel posts in place with blocking between
the joists and the posts. Finally the decking is installed.

The railings, newel caps, and skirting are added.
Then the stairs are installed.
We made allowances for future landscaping as you can see here with the skirting.
We even added a bench for the laundry basket beside the cloths line pole.